Challenge #5
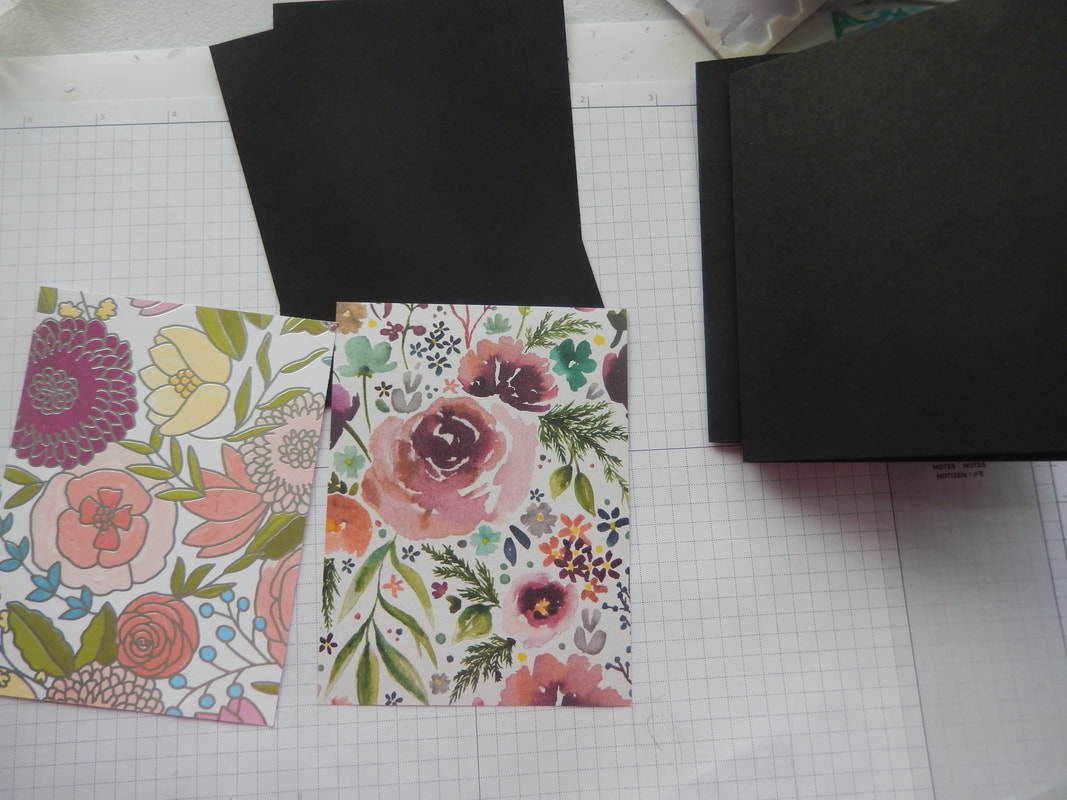
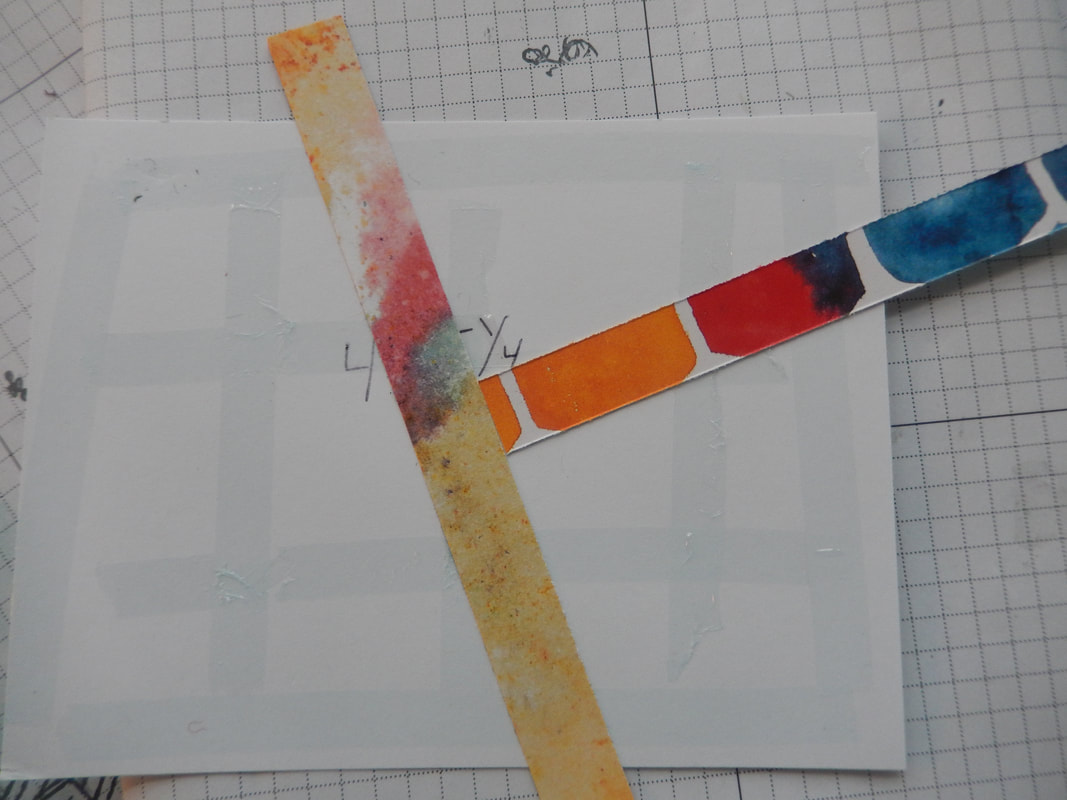
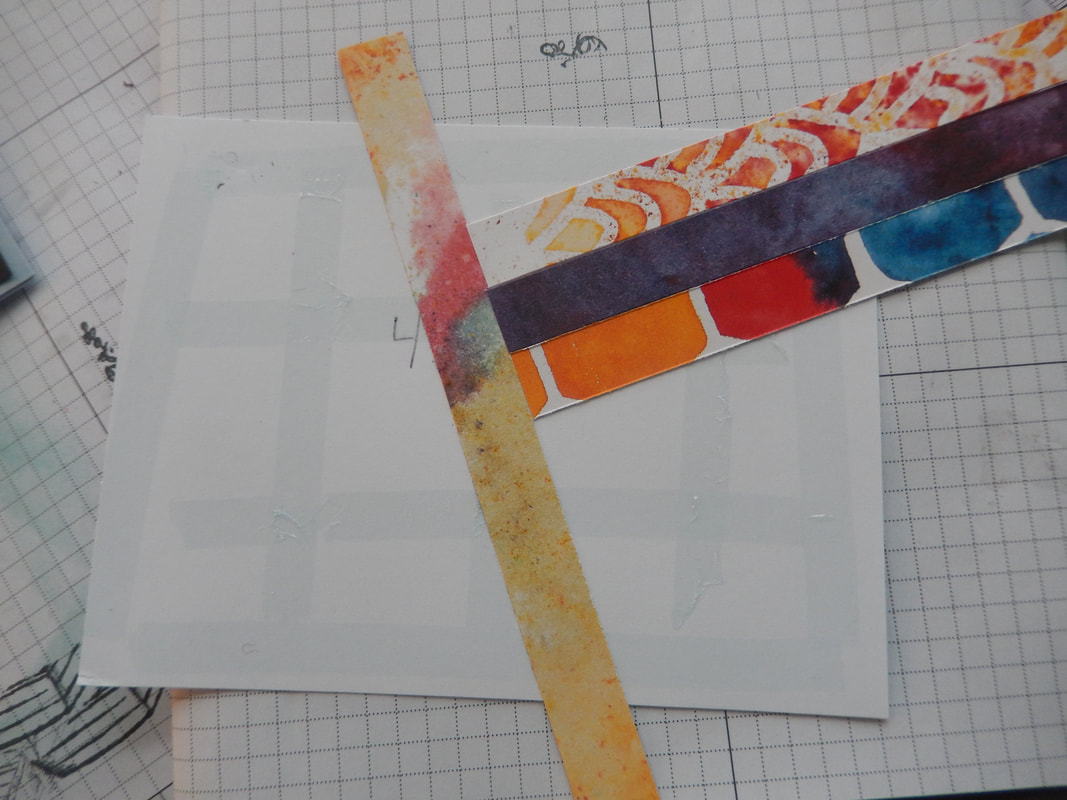
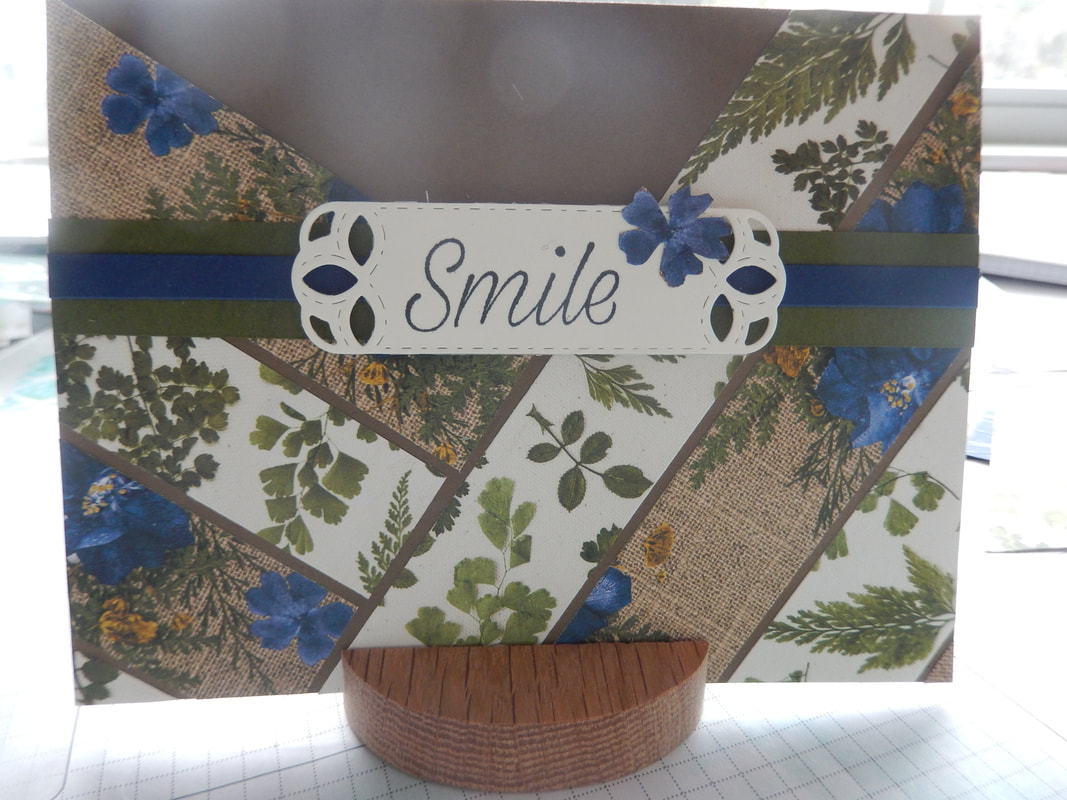
Choose a DSP that you like and cut it at 5 1/4" X 4". Then cut strips at 1" and 1 3/4".
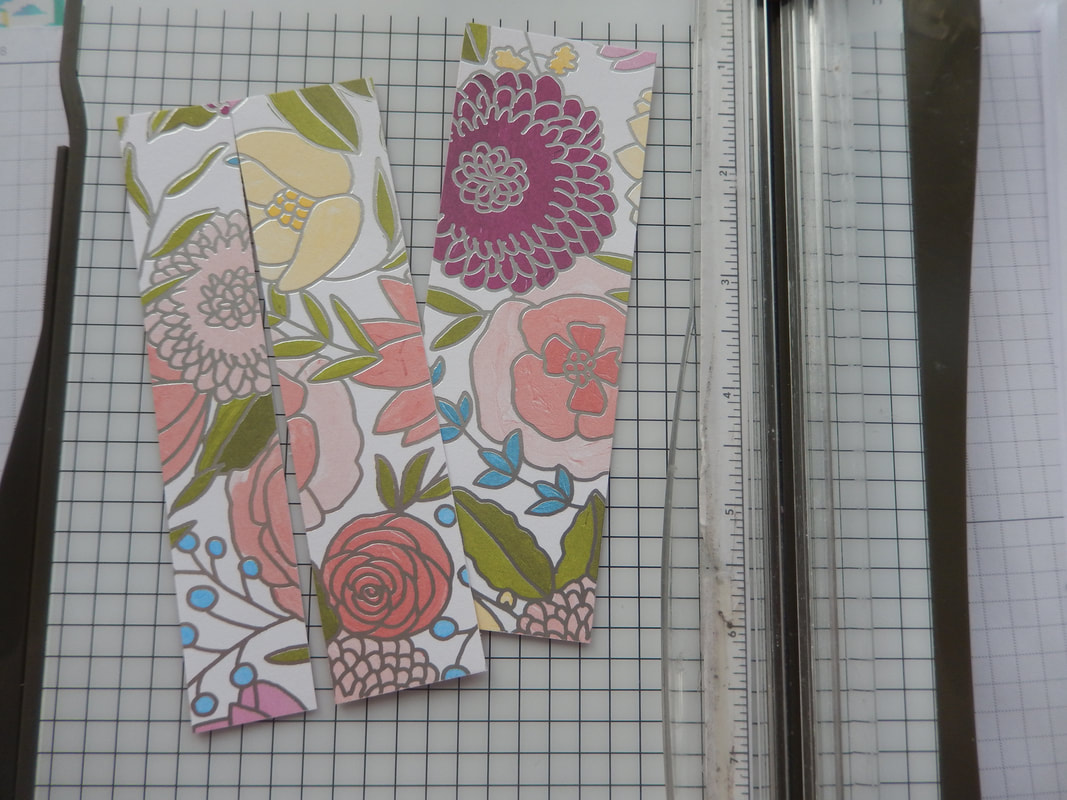
Put the strips together --large, middle and small.
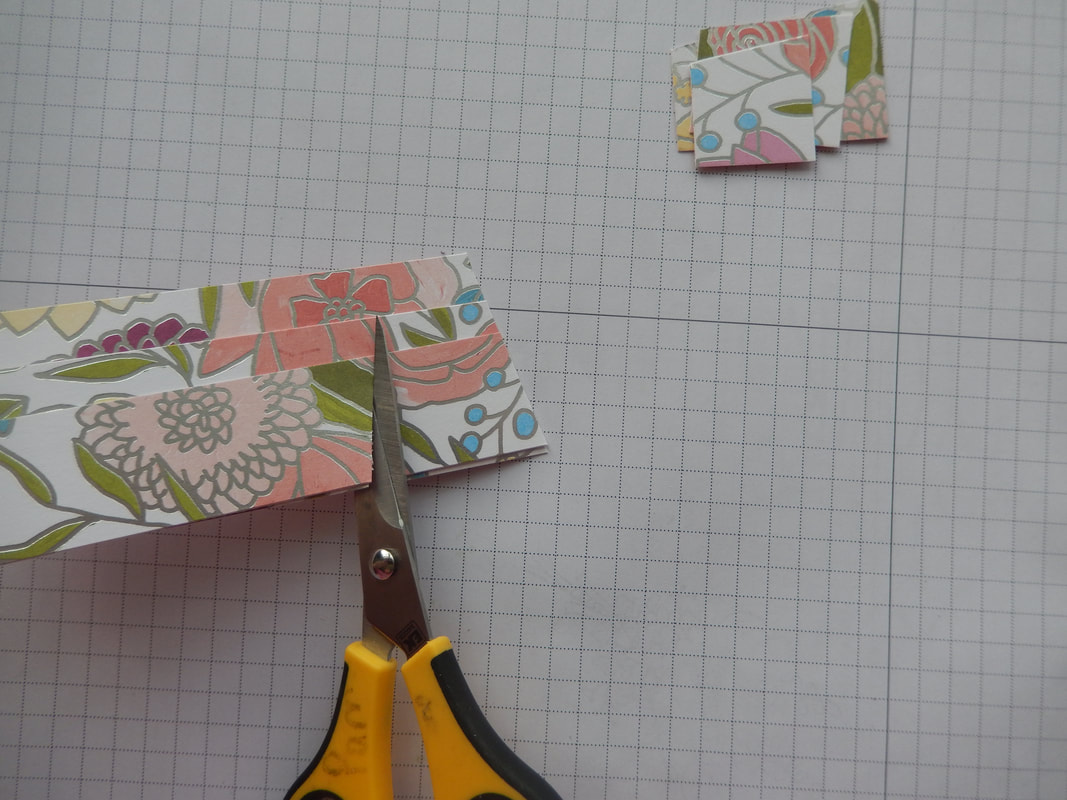
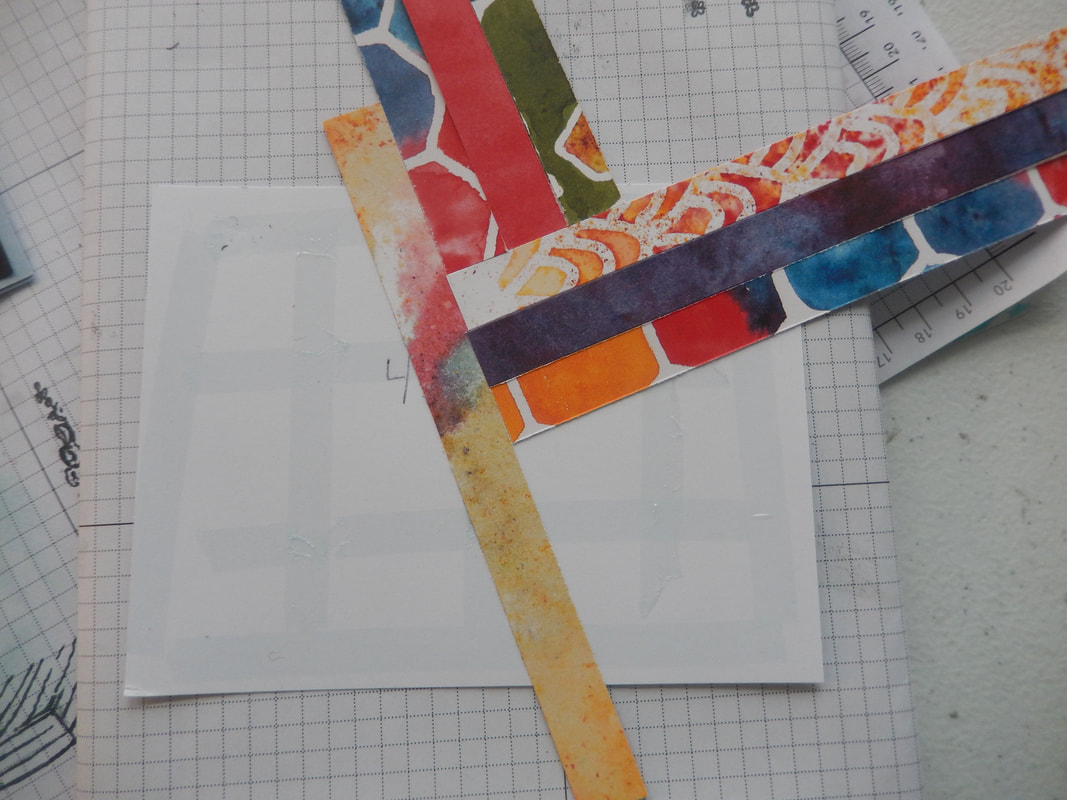
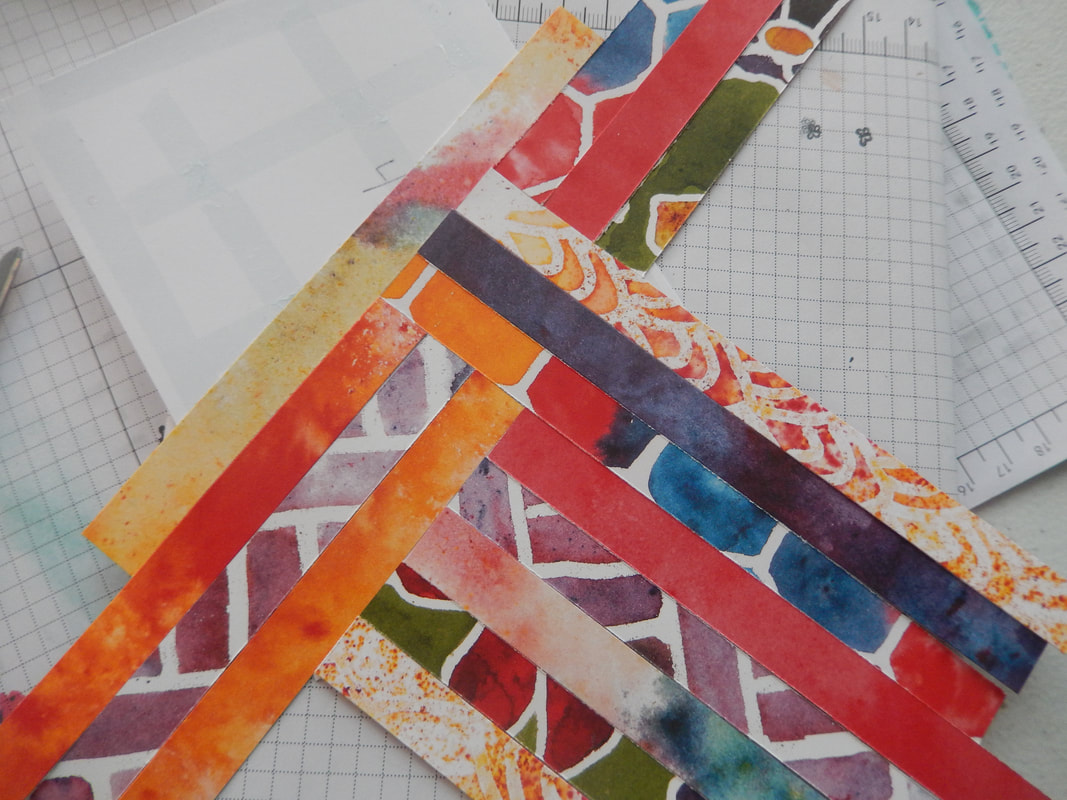
Cut them at an angle and make sure to keep them in the same order so your finished pattern will look the best.
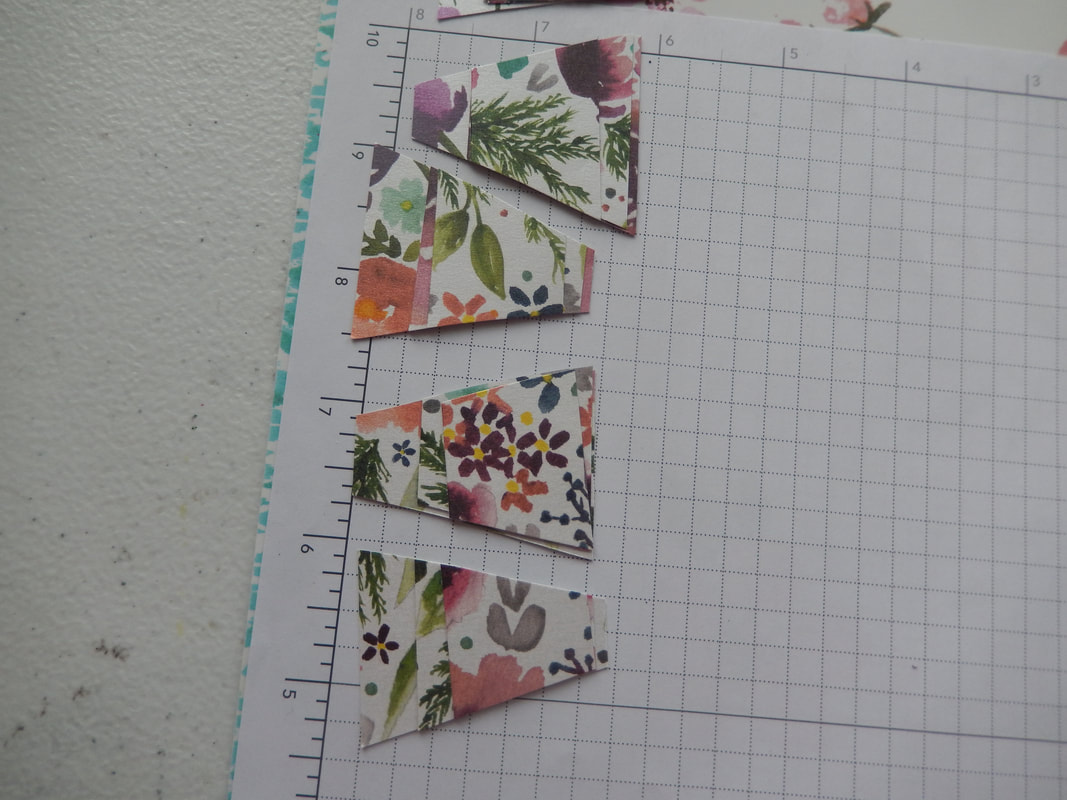
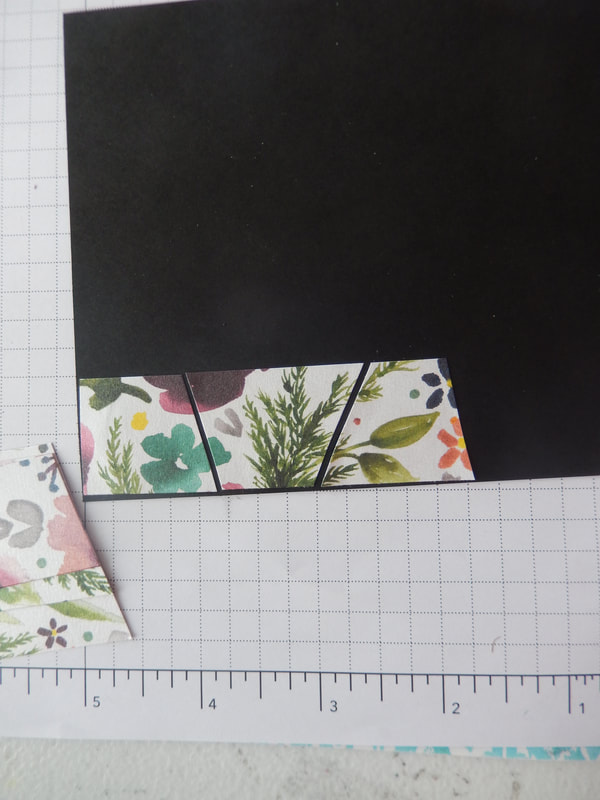
I chose black to have for the background. I really like how black sets everything off, but you could use any color of your choice. I cut the black at 5 1/2" X 4 1/4". Then start with your smaller pieces (the top of each pile) and adhere to your mat, leaving about 1/8" space between the pieces.
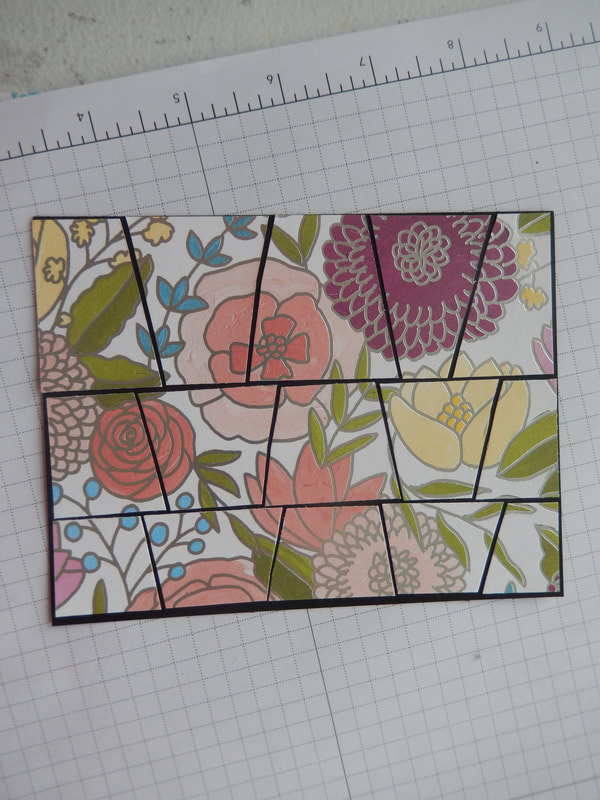
This is how it will look when you have them all adhered down. You can see the smaller ones in the first row, middle in the center and largest on the last row.
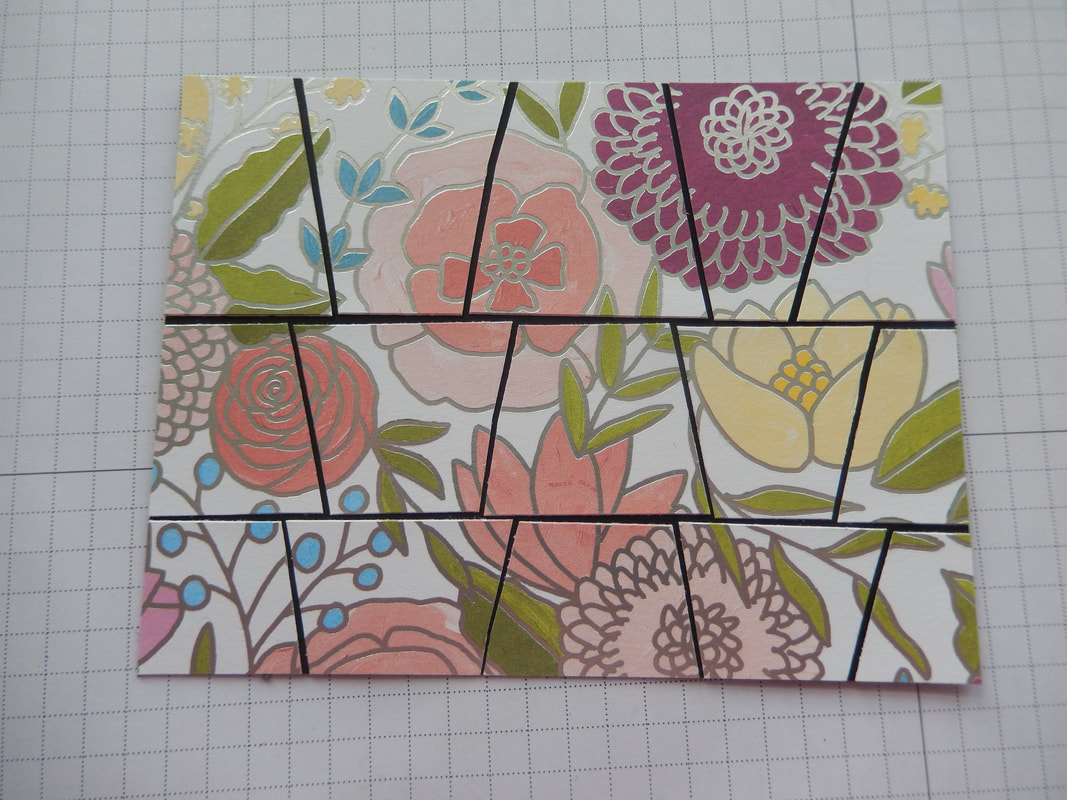
Now cut it down to 5 1/4" X 4". I cut a little from all 4 sides so no black showed on the edges.
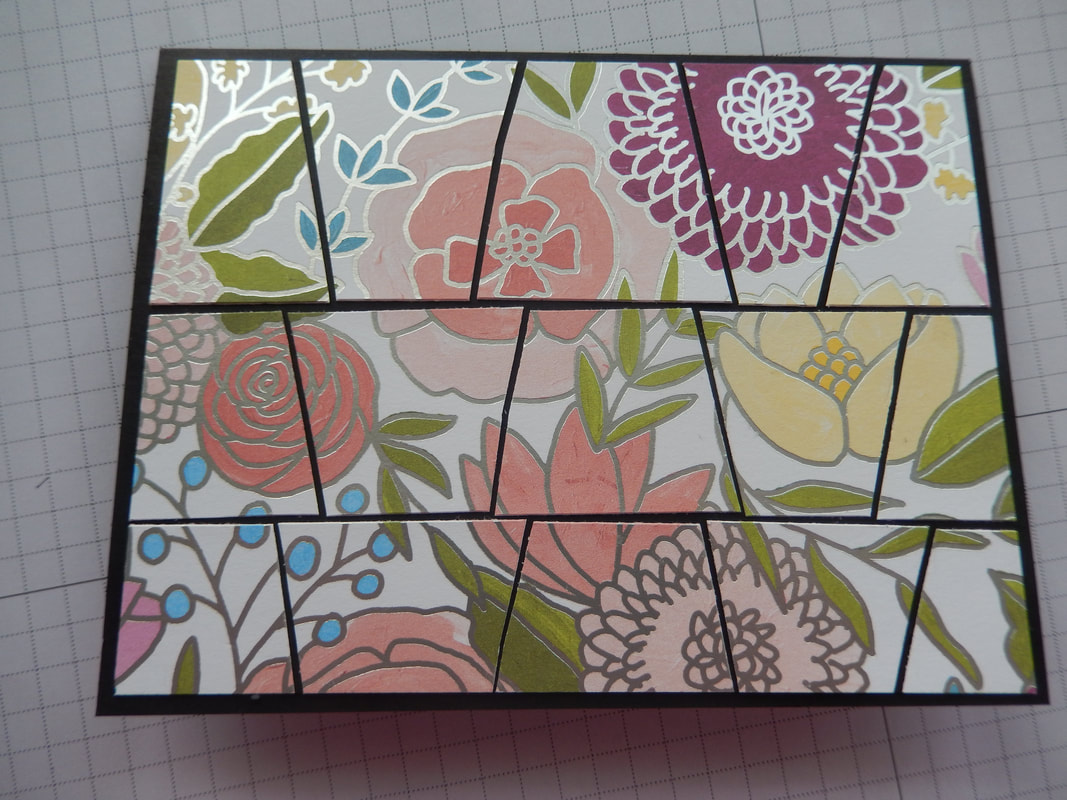
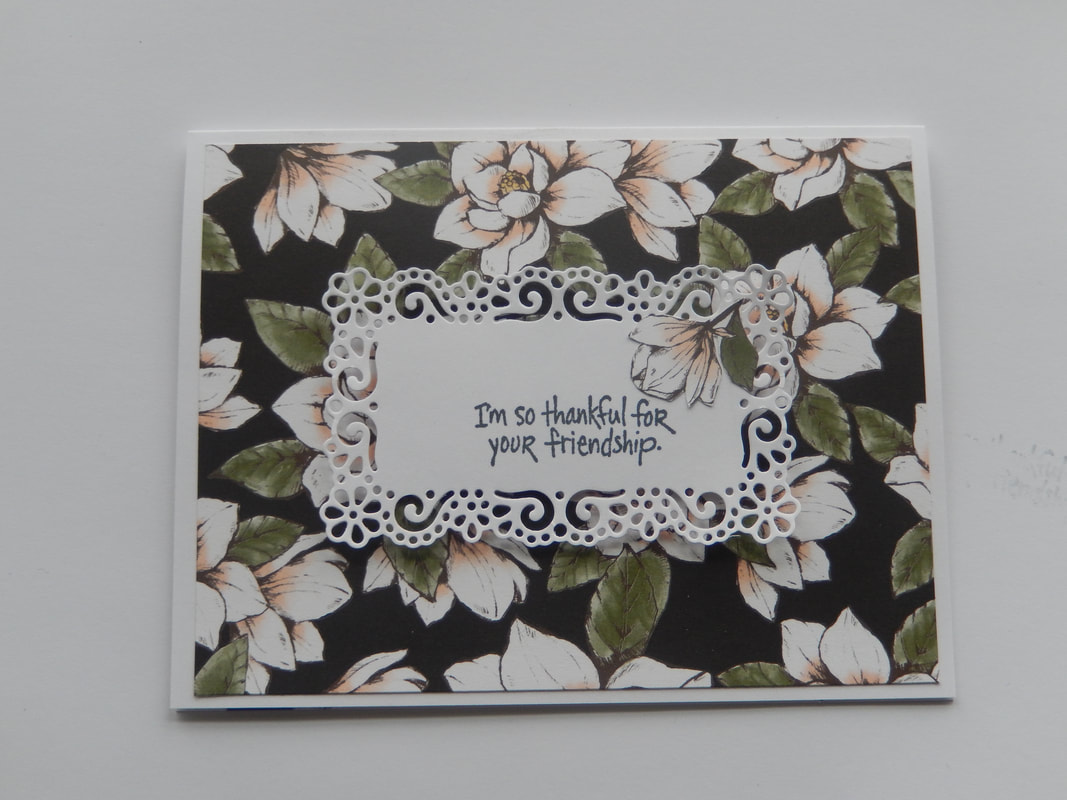
Then add this mat to your base card. I used the same color as the one between my pieces, black. Another creative choice for you!


Here are my two. You can finish them off any way you choose. Can't wait to see what you come up with! Have fun!
Challenge #4
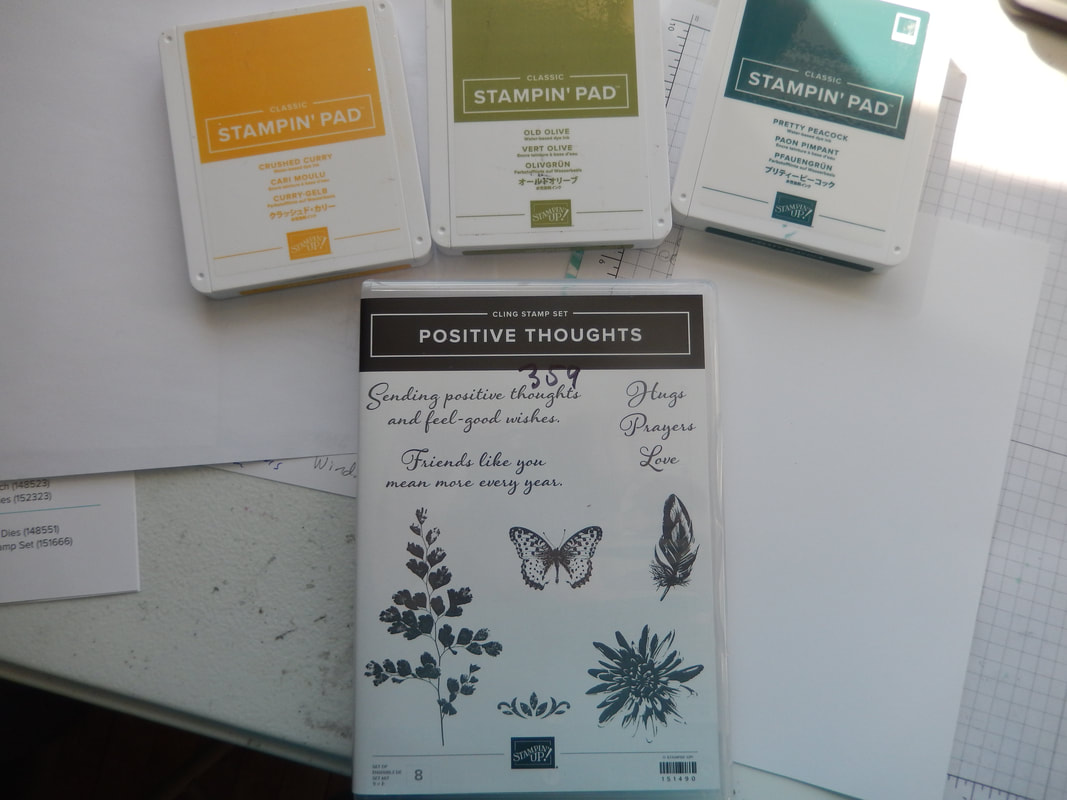
Making your own background can be a lot of fun. Choose a stamp set with different size stamps (or mix and match) and then choose 3 colors that you love together. I am using Positive Thoughts and Crushed Curry, Pretty Peacock and Old Olive.
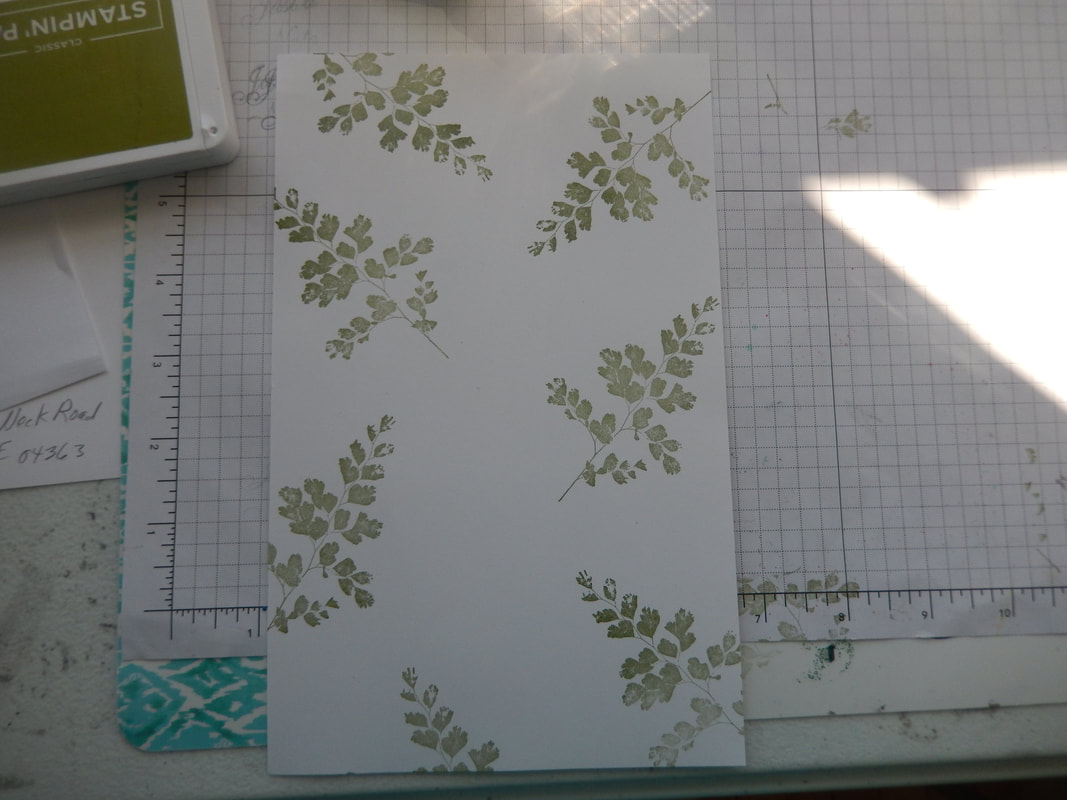
tStep 1, take your largest stamp and stamp it around your paper. Don't forget to stamp off with some.

Now take the next largest size stamp and another color and , again, stamp all around your paper, stamping off some.
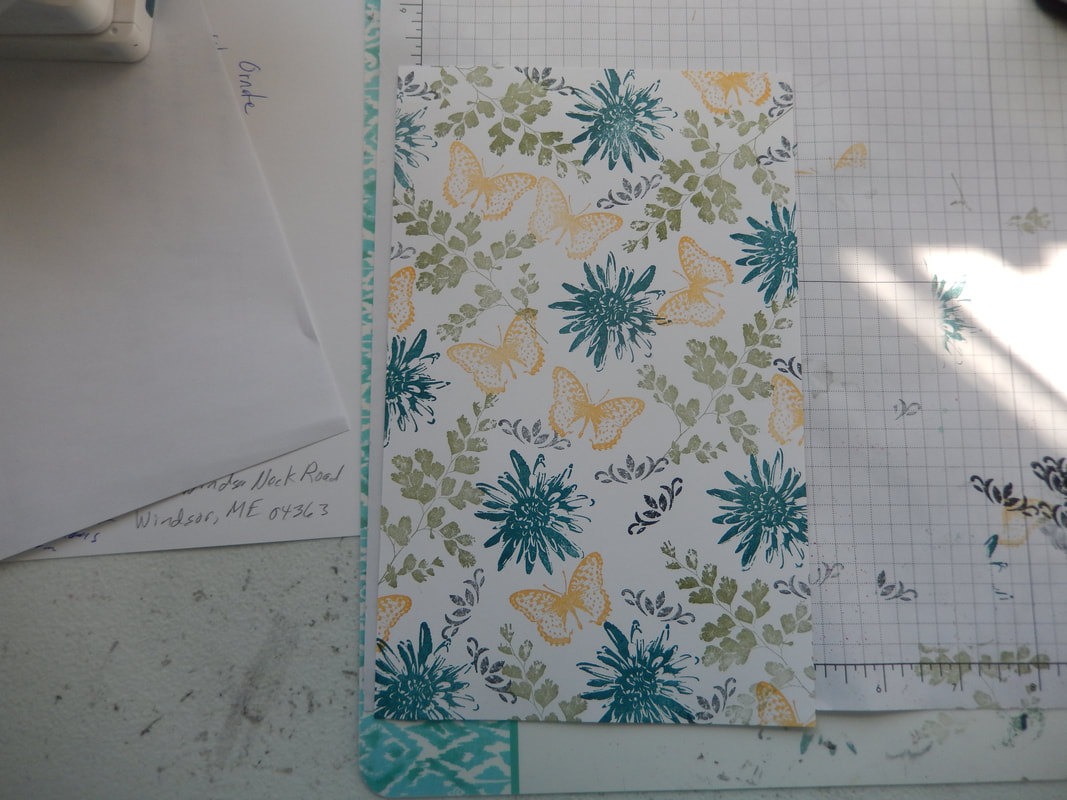
I apologize, I forgot to take a picture after doing the butterflies. Take a smaller stamp and your last chosen color and, again, stamp all around, even stamping off. Then, using the smallest stamp and black, fill in everywhere with this image. You can see I stamped one full strength but then changed my mind and stamped off each time before stamping on the paper. Either way you choose, fill in the spaces and again, stamping off as well. BAM! You have created your own paper.


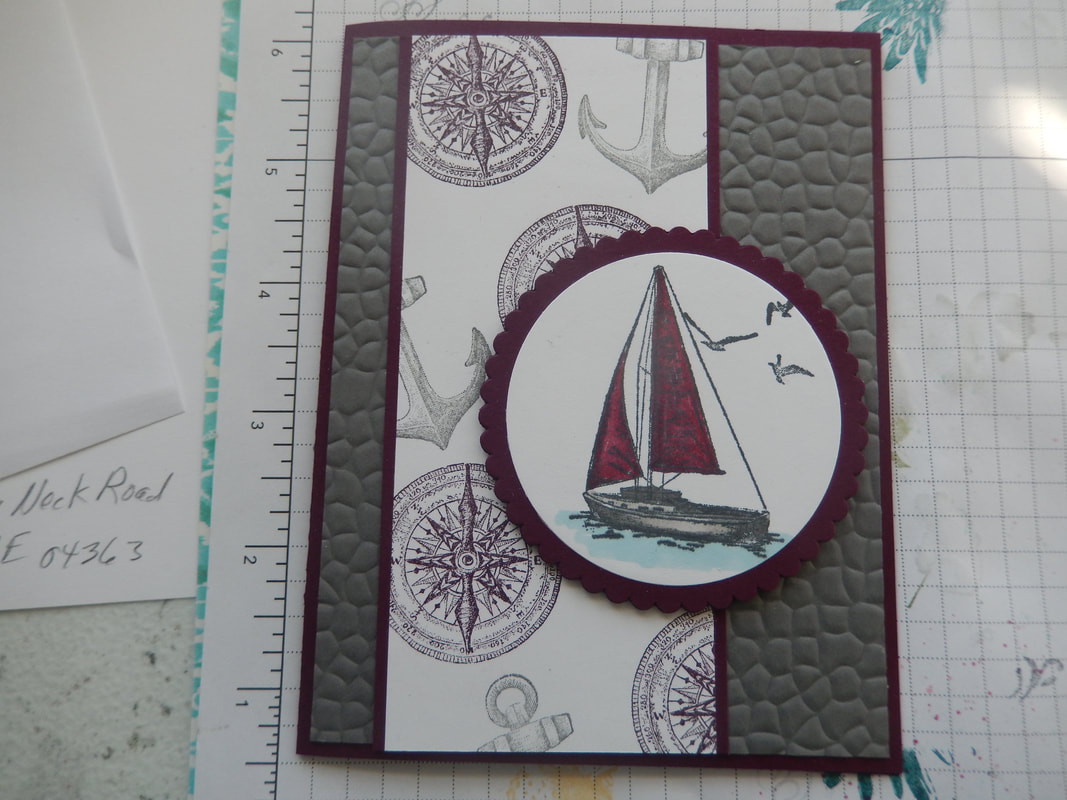
The first 2 pictures show the card I made with my paper and the 3rd picture shows a card I made using just two colors and two stamps. So---make your own paper and lets see the cards you make with it. Have Fun!!!!
Base card is 11" X 5 1/2"---score at 1 1/2", 4", 6 3/4". DSP-3 at 1 1/4" X 5 1/4"----1 at 2 1/4" X 5 1/4"----1 at 2 1/2" X 5 1/4" and a white one at 2 3/4" X 5 1/4". Belly band is 1" x 9"
Challenge # 3
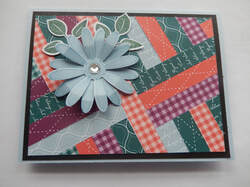
cA change to use up a lot of scraps. With this card I used 1/2" strips.
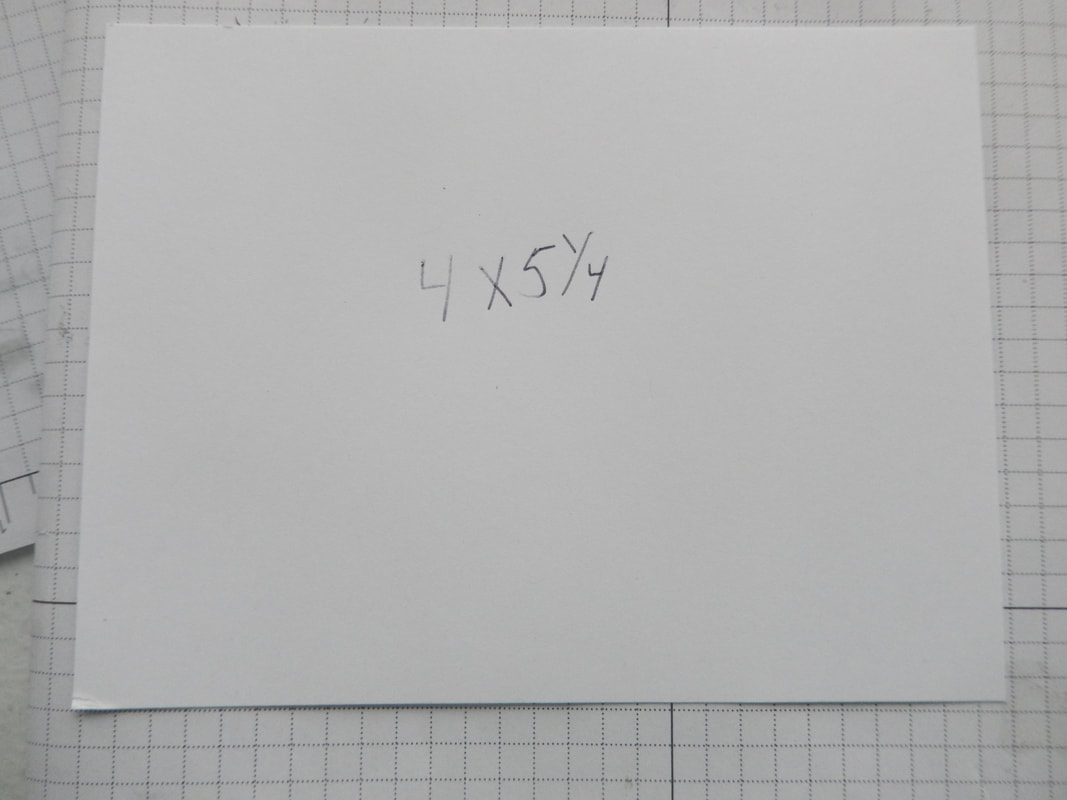
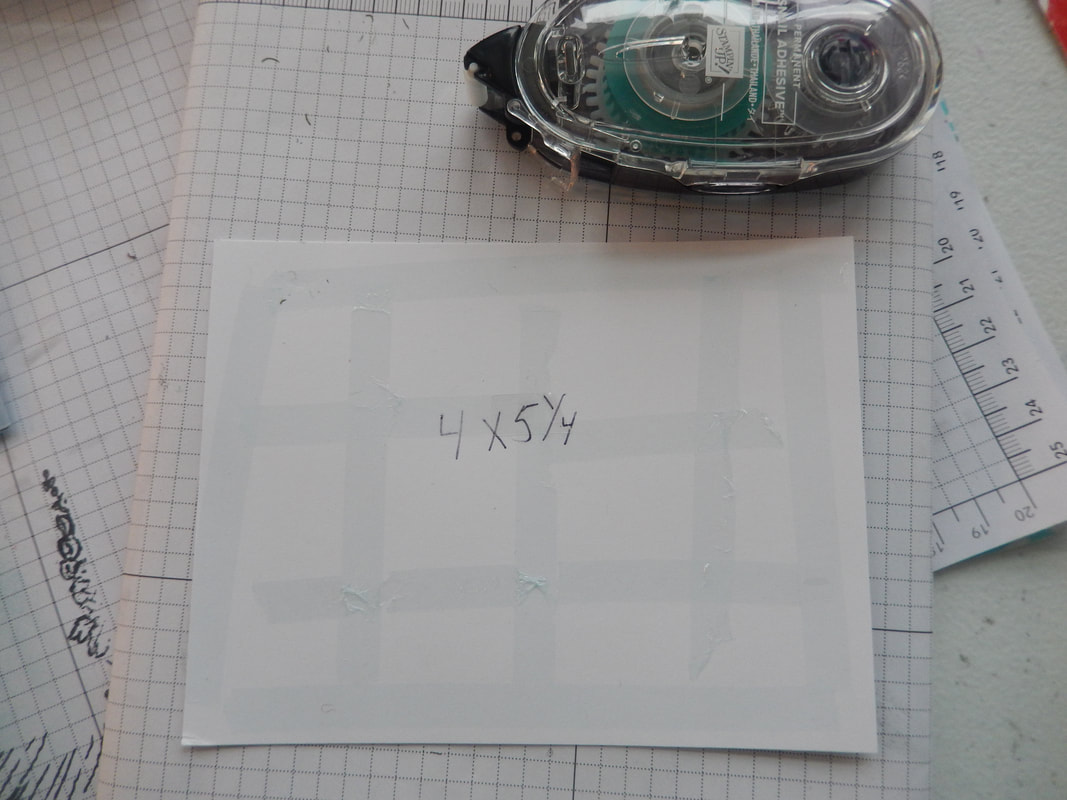
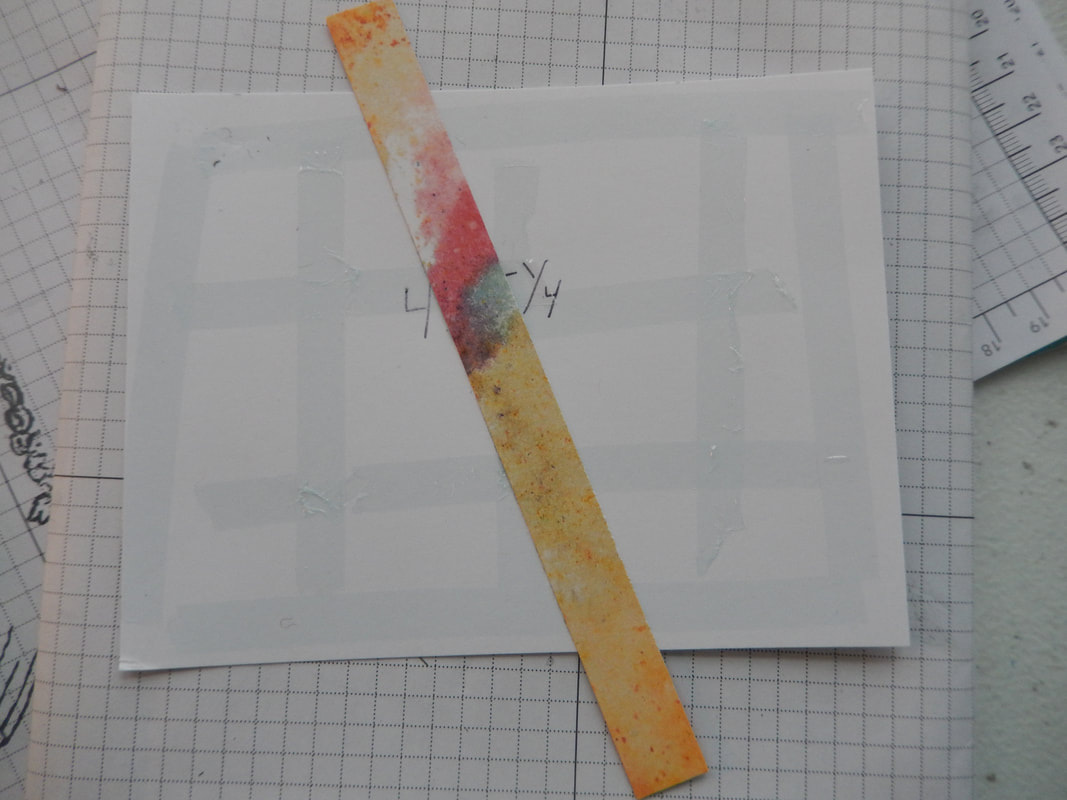
Start with a 4" X 5 1/4" cardstock. Add tape runner around edges and all crossed this paper. Start by putting down 1 strip across the middle, at an angle. Then add 3 or 4 strips, butting up against the first one and each other. Then change direction again and add another 3 or 4 strips in a different directions.

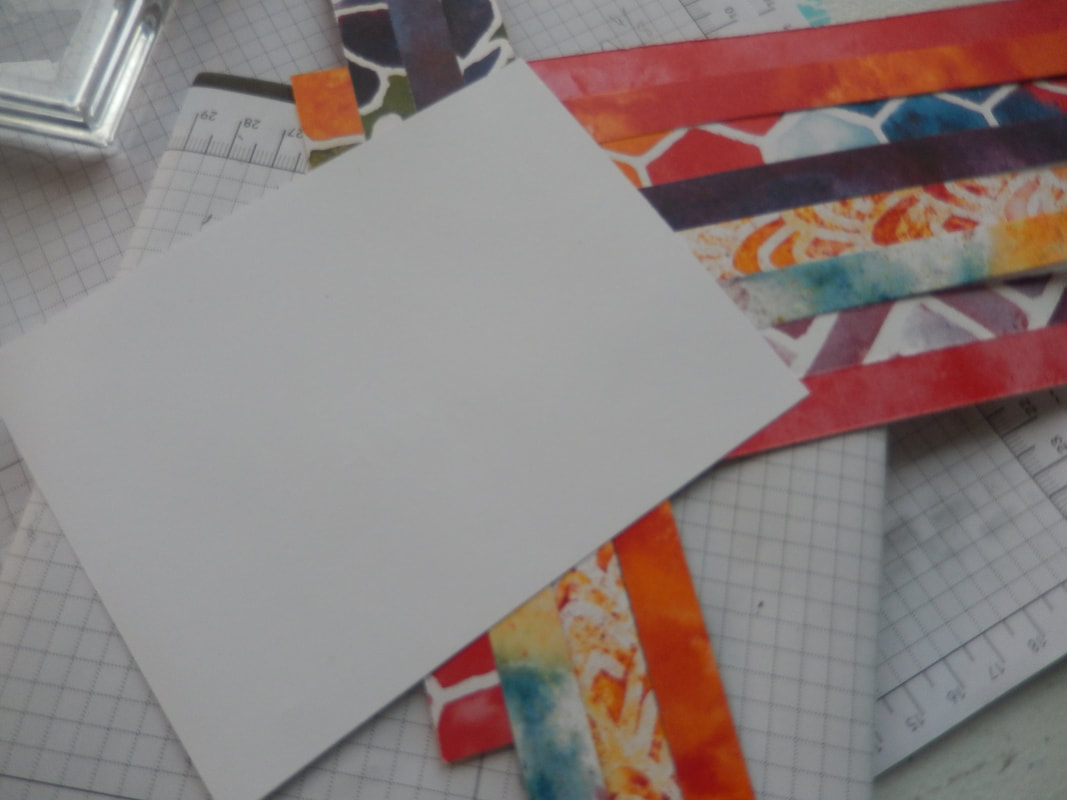
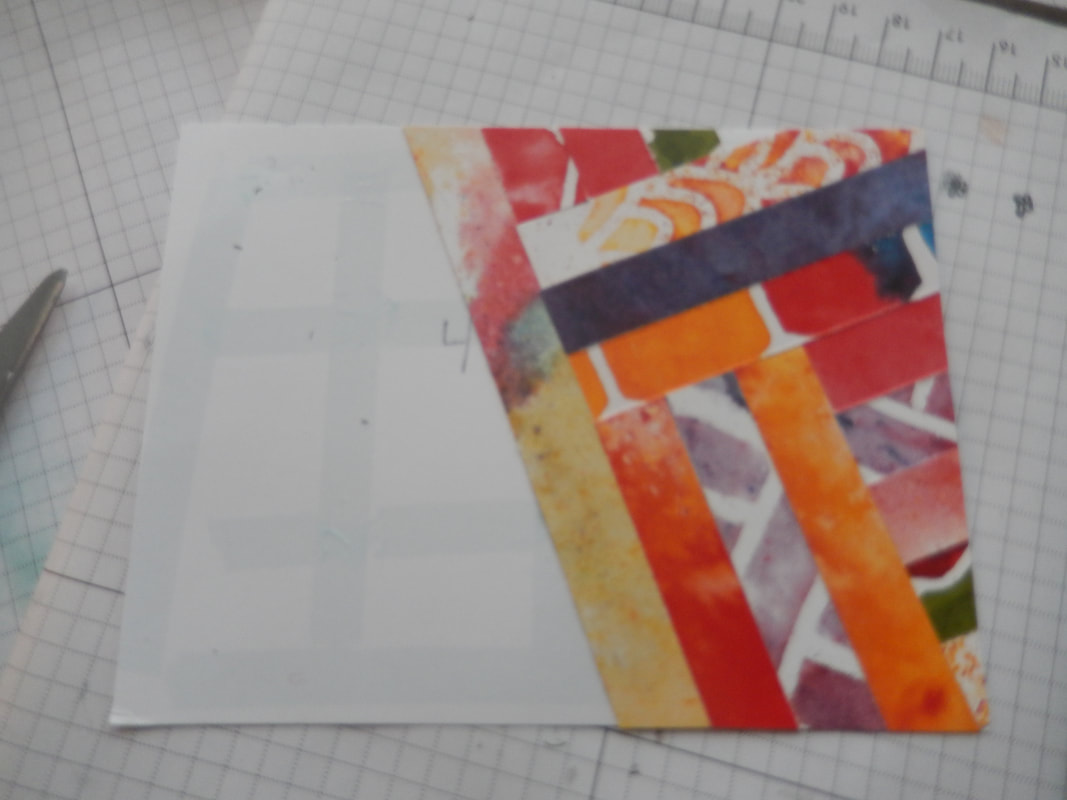
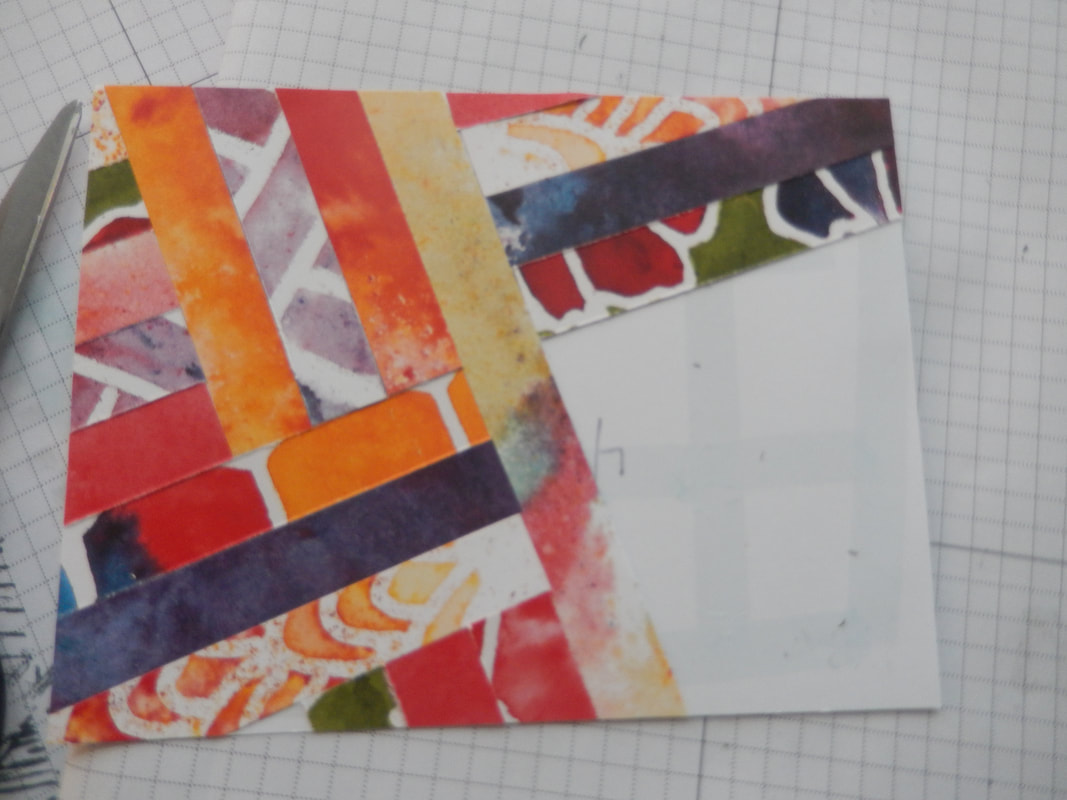
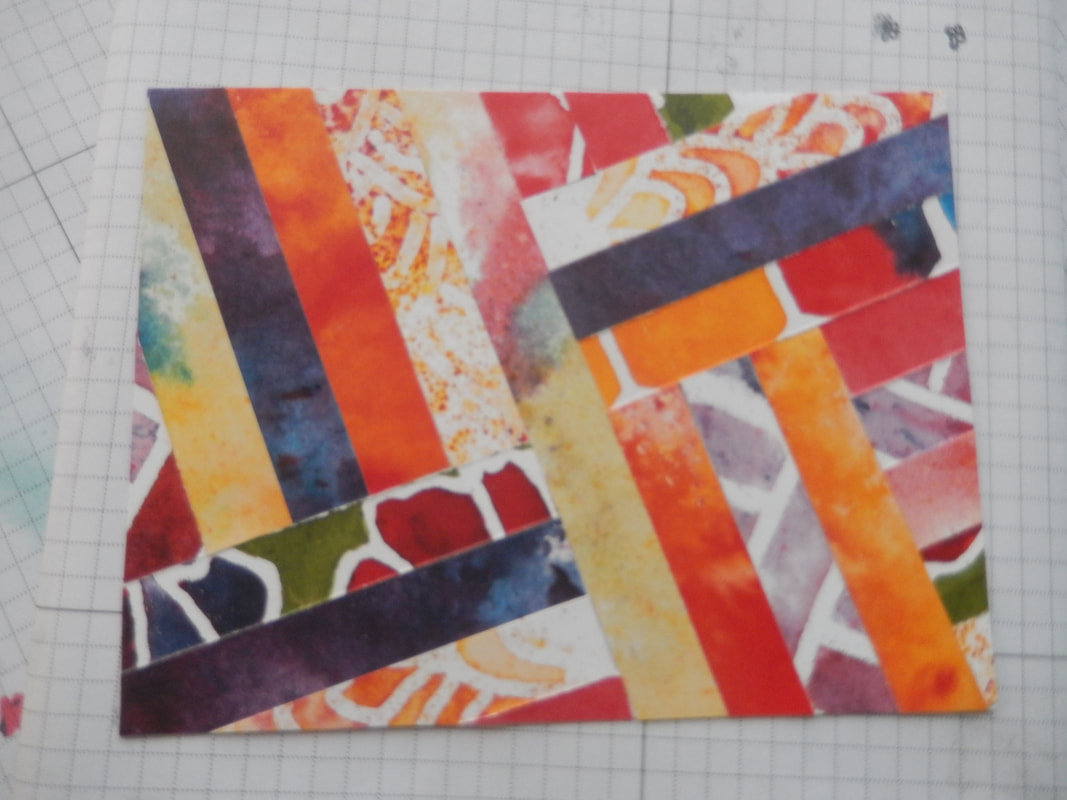
Keep adding these strips until you've covered your card. As you go, you can flip your card over and cut off the extra strips to fit your paper. Use can also be used on your card front.
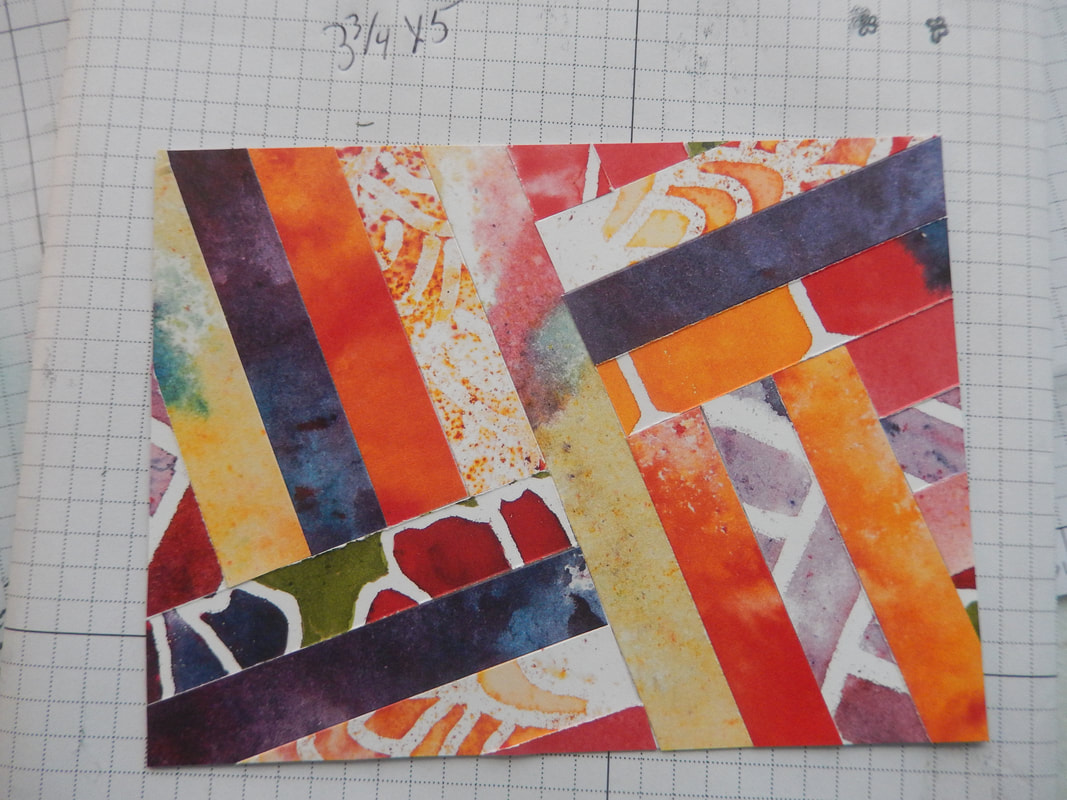
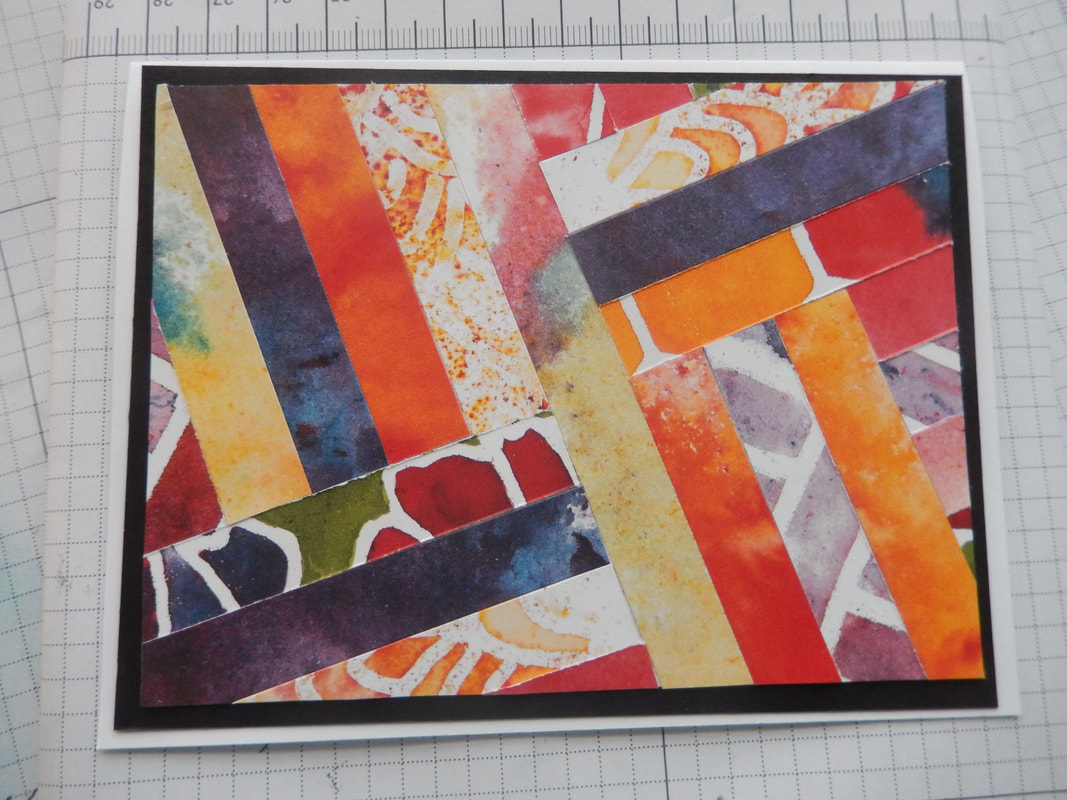
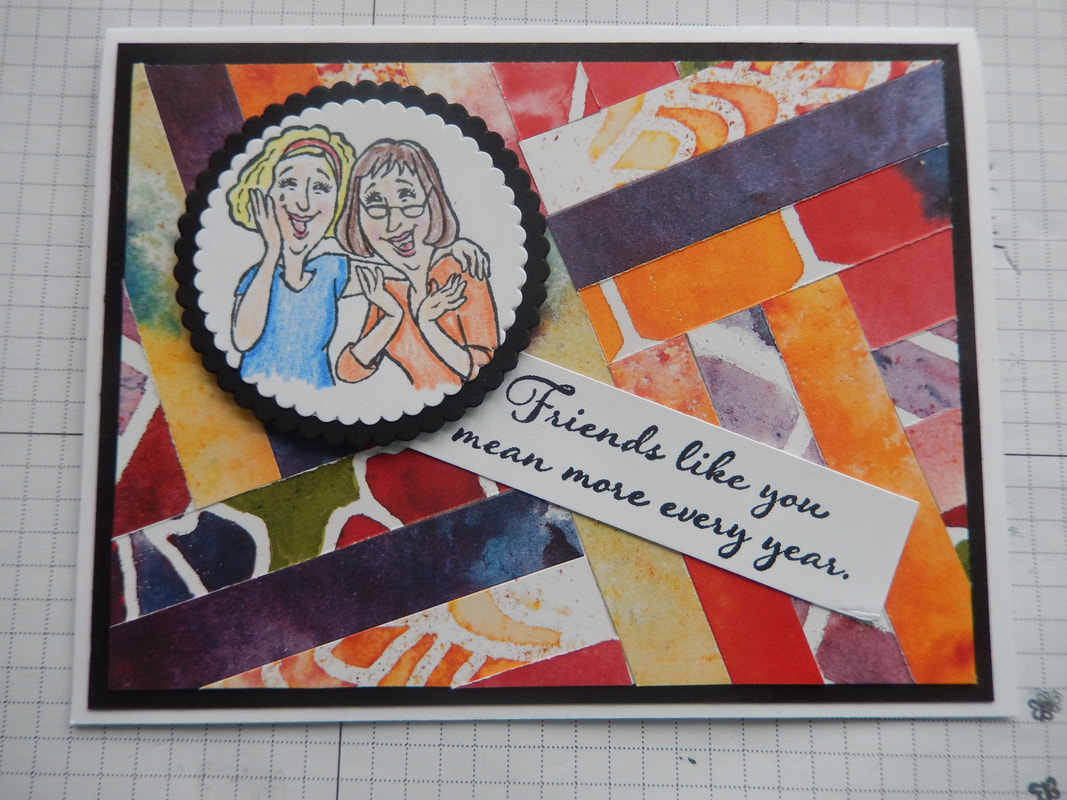
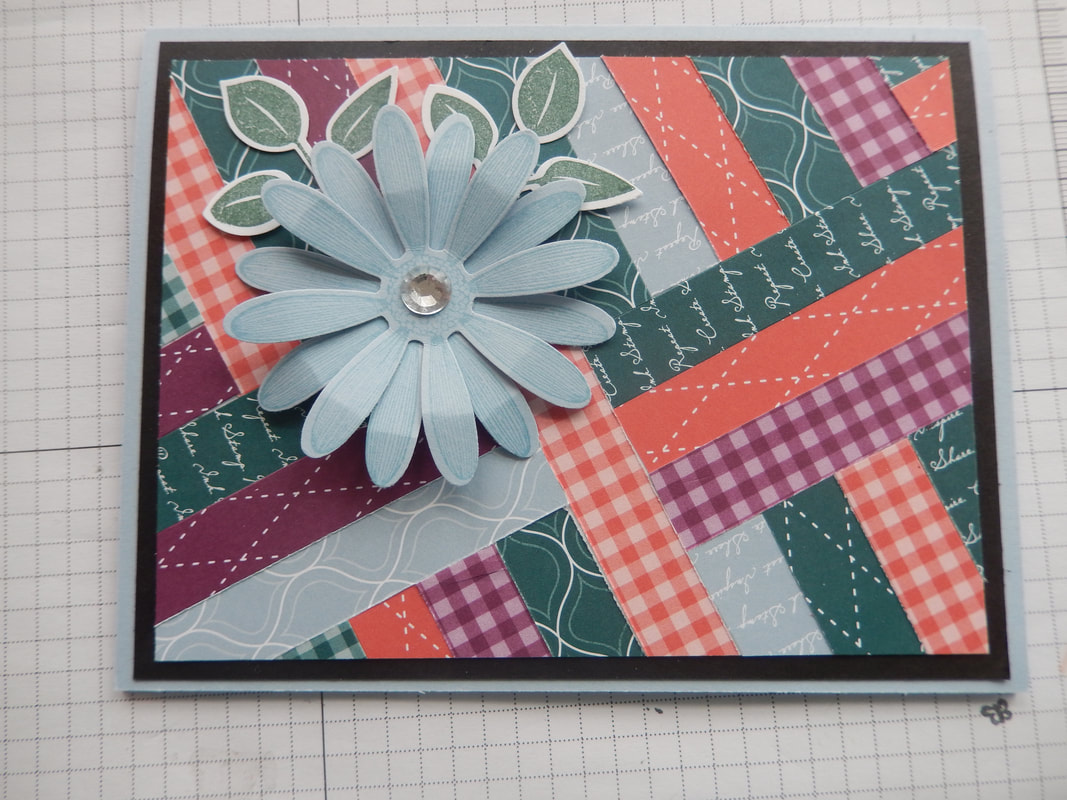
I trimmed this down to 3 3/4" X 5". Then added a mat and then attached it to a base card. Then decorate as desired. There are 2 samples of this above, along with one I did using 1" strips. with this one, I attached the strips directly to the card front, leaving a small gap between each strip and didn't go all the way to the top of the card. Then I decorated the front.
Happy Mail # 2


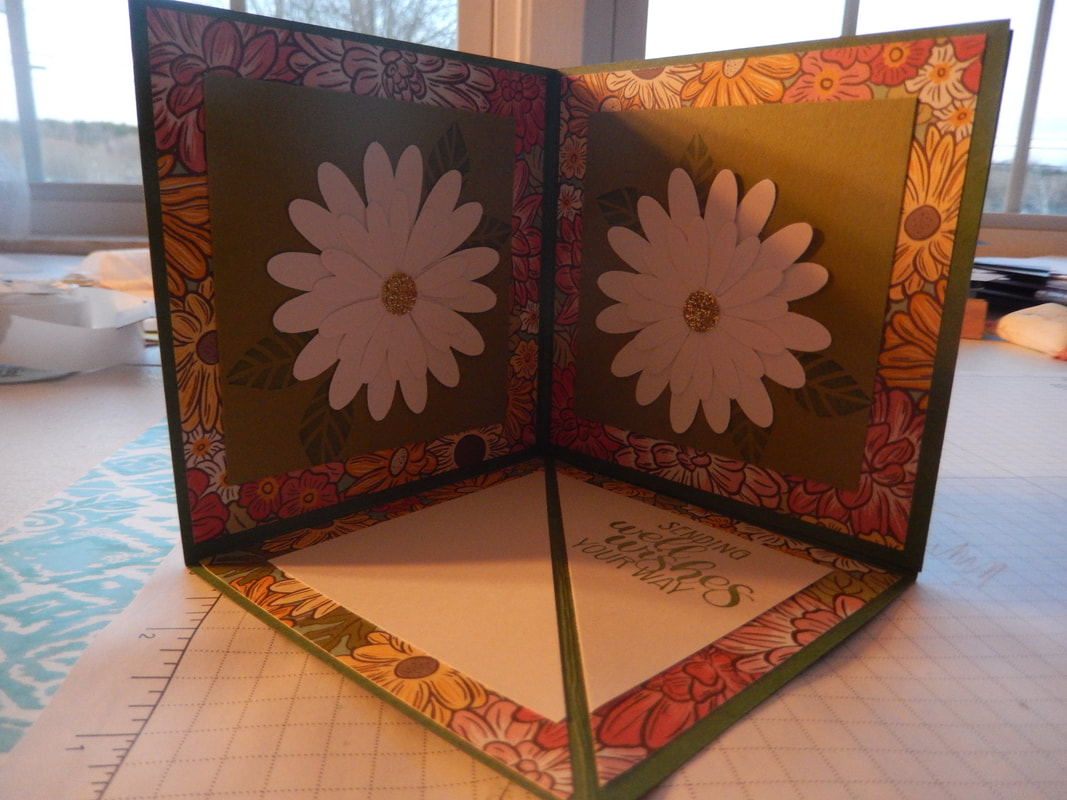
I cut the larger mats at 3 3/4" squares -you will need 4 of those. The smaller ones, you decide how you want to do those. I show 2 different ways above. The "floor" square, I put the mats together and then cut diagonally. I hope this helps. I'll see you Tues. or Wed. and I can answer any questions then. Remember, there's no right or wrong. She choose the papers, designs etc. The card below (Challenge #2) is what we'll be sharing next.
Challenge # 2
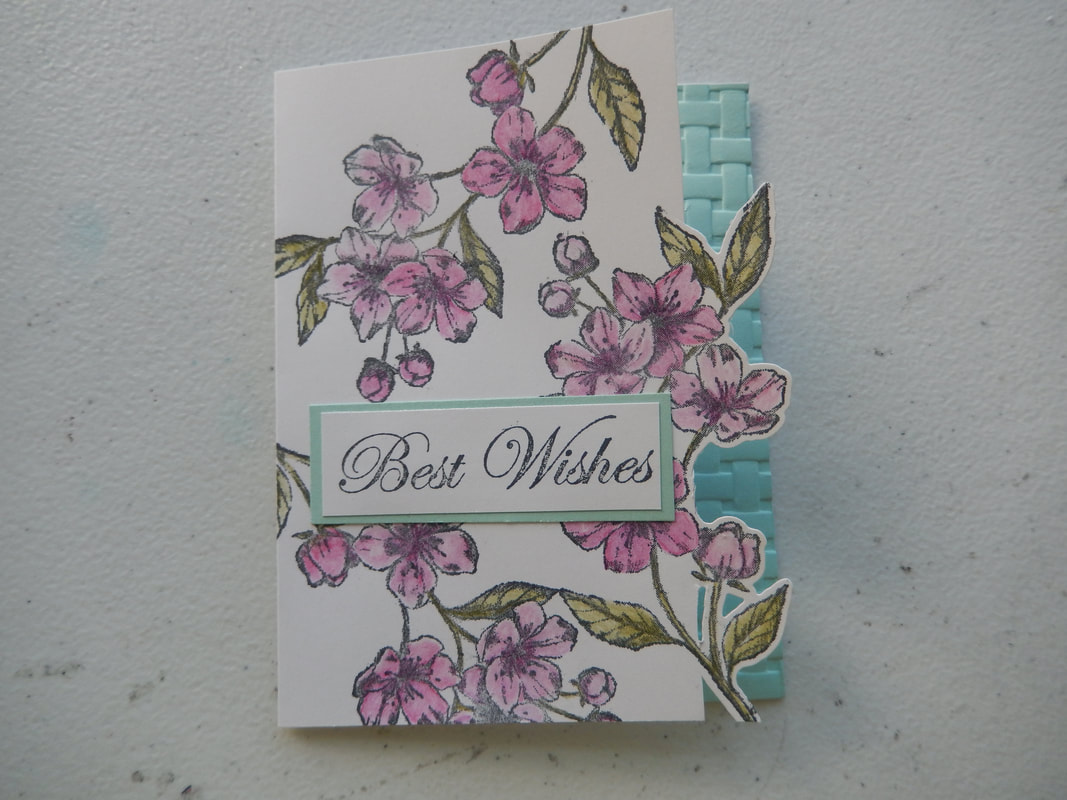
This is a 1 layer card. Pick a stamp you love and stamp one on the far right of your card front. Then cut a strip off, going around your image. Color in your images. I cut a narrow strip and ran it through the BS, then added it to the far right on the inside of your card. If you know how you will use this card, then add a greeting onto the front and the sentiment onto the inside. Use the same color card stock for the strip and the greeting mat. My mat measures 1" x 3" and the greeting measures 7/8" X 2 7/8". I used Forever Blossoms stamp set.
Challenge # 1
Happy Mail # 1

This is how I used my card kit. I 3D'd the mat wiith the greeting.
